")
 Module 5: CLIMATE ACTION (SDG13) _CY
With this tool, students are expected to:
- Become aware of the negative effects of waste on the environment and climate change
- Understand the need for reduction of the amount of waste by forming the habit of acting responsibly for the environment preservation
- Become aware of the variety of ways for recycling
- Work in groups to make a useful thing from recycled materials
Materials:
PowerPoint presentation (annex No.1)
video film about the effect of waste on environment and climate change
A4 size mind map (annex No.2) and writing tools
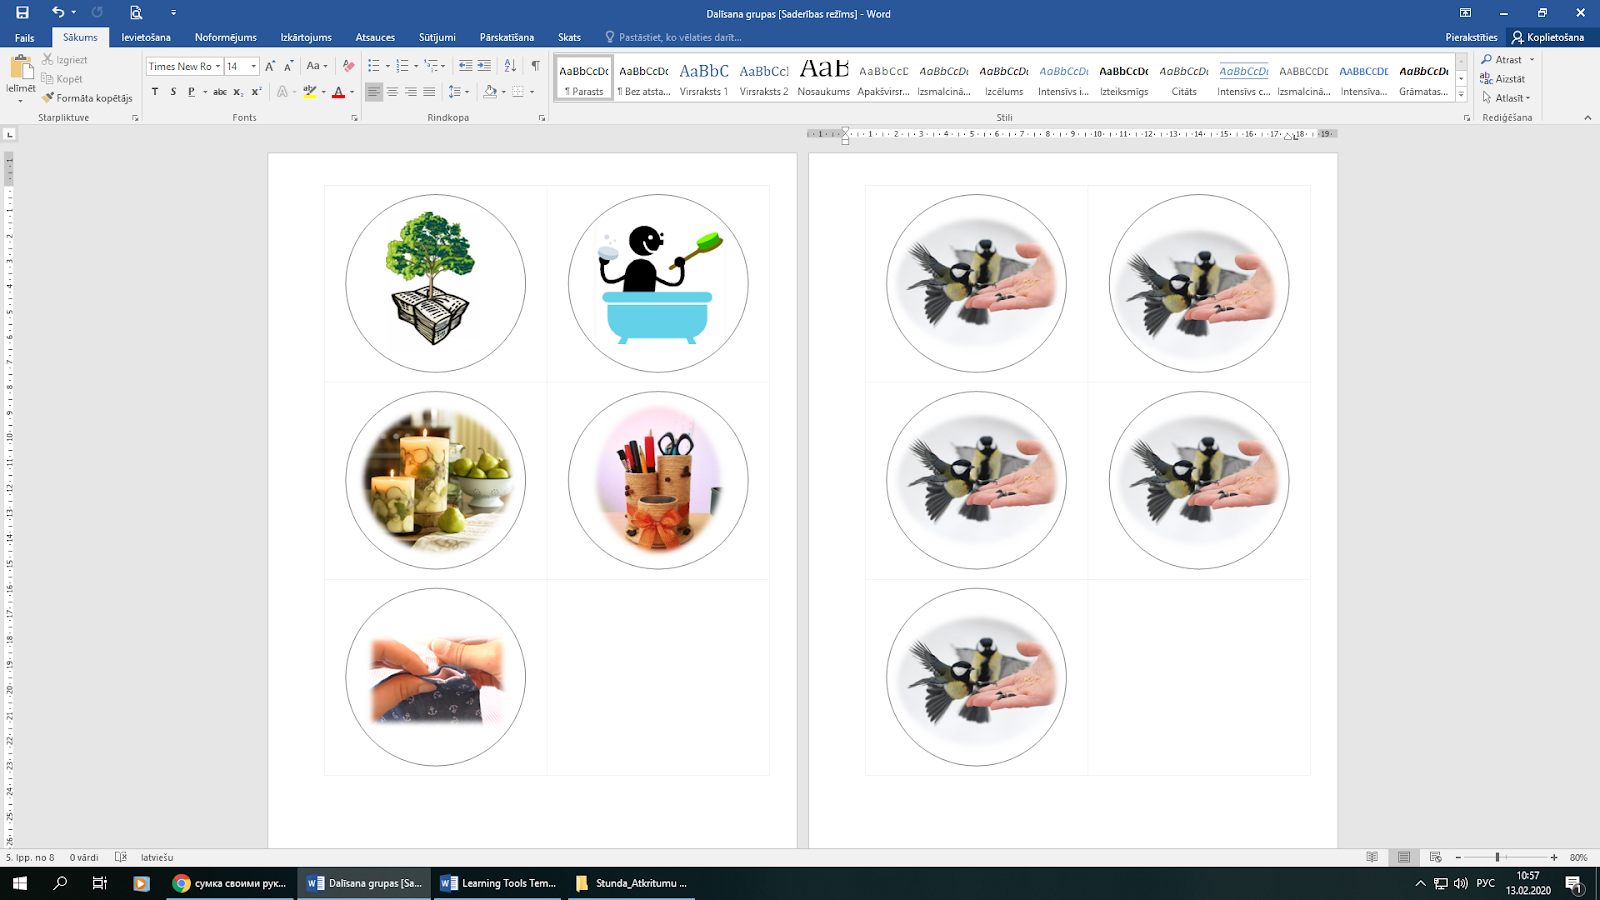
pictures for dividing into groups (annex No.3)
description of the interactive workshop (annex No.4)
worksheets for interactive workshop (annex No.5)
tools and materials for workshop (see description of the workshop)
feedback forms “My achievements during the class” (annex No.6)
Length:
2 hours
Target group:
4 – 5 grade students (10-11 years old)
Encouragement: issue “Our daily life is impossible without waste…”
Students get an understanding of why it is important to learn about the subject of the lesson:
What is climate change?
What causes climate change?
Students participate in setting the outcomes to be achieved during the class.
Acquisition:
Students participate in the discussion:
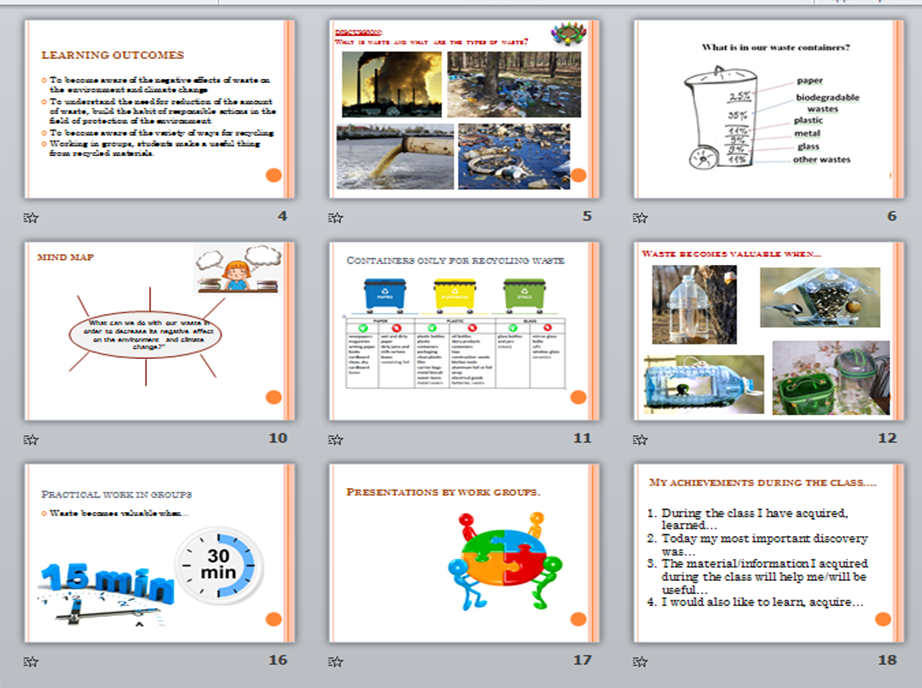
What is waste and what are the types of waste?
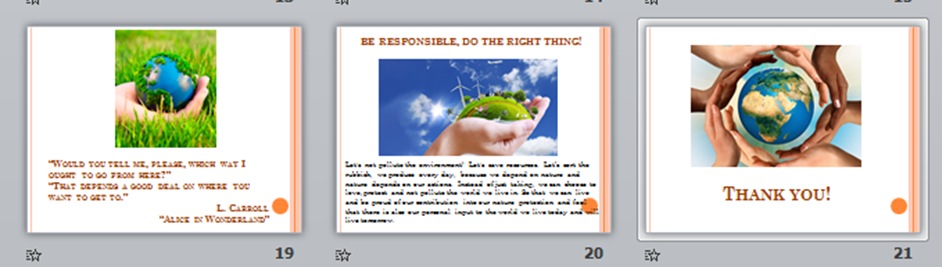
What is in our waste containers?
Where does out waste go and what happens to it?
Students watch a video about the effect of waste on the environment and climate change.
Students participate in the discussion:
In what way do our waste affect the environment?
In what way do our waste affect climate change?
Students make a mind map “What can we do with our waste in order to decrease its negative effect on the environment and climate change?” Students show their mind maps and offer their solutions to the problem.
Students work in groups “Waste becomes valuable when…”
Workshop 1 “Making Paper from Waste Paper”
Workshop 2 “Making Soap”
Workshop 3 “Making Candles”
Workshop 4 “Organizers made from Toilet Paper Rollers”
Workshop 5 “A Bag for Sports Shoes Made from a T-shirt”
* Each group fills in a work sheet.
6. Students present the work they have done in their groups, show the outcomes.
Reflection:
Students perform the assessment of the class “My achievements during the class” using the method of unfinished sentences:
During the class I have acquired, learned...
Today my most important discovery was...
The material/information I acquired during the class will help me/will be useful…
I would also like to learn, acquire...
Encouragement: “Our daily life is impossible without waste”
The teacher cooperates with students to get an understanding of how the topic will be studied, why it is important to learn the topic and what measurable result is expected from the students at the end of the class. The teacher identifies the aims of the class.
The teacher encourages students to reflect on the problems they encounter in surrounding society, draws their attention to global problems connected with the waste we produce in our everyday life.
The teacher offers questions for discussion:
What is climate change?
What causes climate change?
Acquisition:
Waste is one of the most serious and dangerous ways of the environment pollution. Environment pollution causes climate change. The teacher invites students to take part in the discussion:
What is waste and what types can it be?
What is in our waste containers?
Where does our waste go and what happens to it?
The teacher invites students to watch a video about the effect of waste on the environment and climate change.
After the video, the teacher invites students to take part in the discussion:
In what way do our waste affect the environment?
In what way do our waste affect climate change?
The teacher encourages students to make a mind map on the A4 format paper “What can we do with our waste in order to decrease its negative effect on the environment and climate change?” Students show their mind maps and offer their solutions to the problem.
The teacher summarizes the students’’ answers and shows PowerPoint presentation with several examples of what we can do with our waste in order it does not pollute the environment, but serves as a basic material for making useful things.
The teacher divides the students into groups for their work in interactive workshops. Working in groups, students make a useful thing from recycled materials.
The teacher invites students to present their work and demonstrate the results.
Reflection:
To get feedback from students about the course of the class, the teacher offers to perform the evaluation of the class “My achievements during the class” using the method of unfinished sentences:
During the class I have acquired, learned...
Today my most important discovery was...
The material/information/skills I acquired during the class will help me/will be useful…
I would also like to learn, acquire...
The teacher finishes the class with the following words:
“Would you tell me, please, which way I ought to go from here?”
“That depends a good deal on where you want to get to.”
L. Carroll “Alice in Wonderland”
In the classroom, there are specially prepared chairs for the beginning of the class and tables for 5 different groups. Tools and materials required for the work to be performed, description of the interactive workshop (annex No. 4), worksheets for interactive workshops (annex No. 5) have been prepared in advance.
4-5 students participate in one workshop.
Students can be divided into groups using Annex No. 3: cut out circles with pictures according to the number of students, put the circles on the table pictures down, offer pupils to choose one of the circles (but do not let them see the picture). Looking at the picture, students will understand which workshop they will work and so they go and sit at the appropriate table.
The teacher can change the number of workshops depending on the number of students. The content of the workshop can be changed depending on the urgent topics, available materials and interests.
Depending on the time available to the teacher, students may be divided so that they perform only one activity and present their outcomes to the other groups, or each group can perform all activities by changing places after the specified time.
Students make presentations about their work to other students.
After the class, students’ works are put for display at the school’s hall, so all students could see them.
An article about the class and photos are posted at the school’s webpage.
References/Further reading
Climate change:
https://lv-pdf.panda.org/klimats_dzivesveids/klimata_parmainas/
Causes for climate change: https://ec.europa.eu/clima/change/causes_lv
Consequences for climate change: https://ec.europa.eu/clima/change/consequences_lv
Air pollution: the EU residents’ health is not yet protected enough (video):
https://www.youtube.com/watch?time_continue=6&v=R0deLckNv9g
A way of a plastic bag (video):
Environment pollution (video):
https://www.youtube.com/watch?v=uWJoMNeFxQw
Environment education materials:
http://www.zalajosta.lv/lv/vides-izglitibas-materiali
A natural thing to do: introduction into GreenInfraNet project (video):
https://www.youtube.com/watch?v=-mr5lF2tzD4&feature=emb_logo
Colourful and handmade paper? It is fantastic, original, and you can do it!
Necessary:
old newspapers or carton egg boxes;
scissors;
wooded frame (the size of the paper);
mosquito net and some white cloth of the size bigger than the wooden frame;
clothes pegs;
some string;
a large container for soaking the frame.
Process:
1. Make the frame. You can make it from old wooden frame and mosquito net. The size of the wooden frame should be the same as the paper you are going to make. Use an electric screwdriver to fix the mosquito net on the frame, cut off the excessive net with scissors.
2. Put old newspapers or carton egg boxes in water. Tear the old paper into small pieces so it gets soft and soaked more quickly. Leave the mixture in a bucket overnight, or if you do not want to wait that long, use a blender to mix it.
3. If you want your paper to have colour, add some paint to the water. In order to get colour dots, put confetti into the paper mixture – small round pieces of different colours – and pieces of colour paper. But before that soak them into water for some time.
4. Put the paper mixture on the mosquito net. Particles of paper dissolved in water are caught in the net. Make sure, the paper mixture covers the net evenly. Let the water drain into the dish, and after that press the rest of water from the paper.
5. Put one smooth plane on the table, cover it with a piece of white cloth, and then carefully put the paper mixture on it. Cover it with another piece of white cloth and then put a second smooth plane on it. Press the planes with a heavy object, and in a few minutes, take out the ready paper. Hang it on the string with clothes pegs and let it dry.
You can make new soap from the remains of used soap.
Necessary:
remains of soap;
silicon forms for forming soap;
a container for melting remains of soap. A metal pot or a cup is the best, but you should remember that you cannot use this pot any longer after that.
Making soap step-by-step:
Cut or crash soap remains (the smaller the pieces are, the faster and more evenly they melt). Put everything into a heat-proof container, add some hot water. Mix everything and put in a double boiler. You should not overheat the soap. The best temperature is 60-65 ° C. Make sure, the mixture is not boiling and there are no bubbles on the surface. Overheated soap quickly dries up and loses the ability to froth.
Repeat the procedure until the mixture is viscous and smooth. After that, you can add essences, oil, glycerine, etc. The soap is ready!
The soap mixture can be poured into forms which were covered with oil beforehand.
A new candle, or even several, can be made from the remains of the burned candles, which when burning will add some cosiness to any room.
Necessary:
remains of burned candles without candlewicks;
a jar– form for a candle. Jars from burned candles, or any other containers of the right size, or special forms for making candles are suitable;
a candlewick – special thread which is located in the middle of a candle. A cotton thread can be taken and a weight attached to it at one end, or a candlewick can be bought;
a container for melting candle material. A metal dish or a cup is the best, but you should remember that you cannot use this dish any longer after that.
Making a candle step-by-step:
Take remains of candles and break them into pieces. It is better to take the same type of materials, but do not mix, for example, paraffin and wax. It is also not recommended to mix colours or scents.
The candle material melts in a container in a double boiler, but not on an open flame, as the material can ignite. The container with melting candle material should be looked after: you should not put the container on fire and do some other things.
If you want your candle to have a scent, add a few drops of aroma oil. Pour the melted wax into a jar.
When the melted candle material gets hazy, a candlewick with a metal base at one end is put in the centre of the jar and secured with metal rods, pencils, or matches.
People, especially ones who have large families buy a lot of toilet paper.
Every time, when we finish a roll of the toilet paper, we take a new one and throw away a toilet paper roller.
Necessary:
a toilet paper roller;
scissors;
glue;
colour paper and carton.
Process:
1. Cut a circle from colour carton. The size of the circle should be bigger than that of the toilet paper roller.
2. Glue the roller over with colour paper.
3. Glue the toilet paper roller in the centre of the carton circle.
4. You can use it to hold your pencils.
Necessary:
a T-shirt;
scissors.
Process:
1. Cut off the bottom of the T-shirt.
2. At the bottom of the shirt cut the fringe 7 cm long and 1.5 cm wide.
3. Tie up the fringe at the front and back sides of the t-shirt. Do it, until you tie up both sides.
4. Cut off the sleeves and cut out a larger neckline. Shoulder part serve as handles. The bag is ready!
Each group fills in their work sheets.
Work sheet The Second Life of Waste. The title of the workshop: _______________________________________________ Names of the students: 1. _________________________________________ 2. _________________________________________ 3. _________________________________________ 4. _________________________________________ 5. _________________________________________
|
Lesson evaluation “My achievements during the class….”
Student’s name, surname: __________________________________________________
During the class I have acquired, learned... | |
Today my most important discovery was... | |
The information and skills I acquired during the class will help me… | |
I would also like to learn, acquire... |
 |
Chapter completed |  |
| Exercise | Result | Your answer | Correct answer |


 Vifin Course Creator